Stack some Firewood


A stack of fire wood is a simple detail that can be repeated in numerous places on you layout, and yet they will never be out of place, and it will never seem like there are too many. A stack of fire wood works nicely beside any residence, a campground, or an outdoor business, like a produce stand or flea market,

Time and Difficulty

A super-simple project that can be completed in a few minutes.

Select Hardwoods

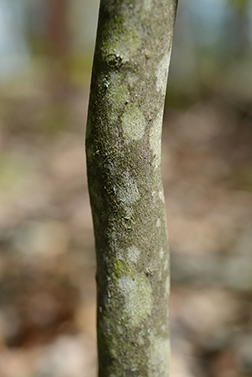
The best looking fire wood is made of real wood. There are two criteria I look for a natural wood twig to use for firewood. First, a tight grain and second, an outer layer that looks like tree bark. A tight grain is necessary so the the cut wood retains its solid, wood-like appearance. Some twig varieties will fray or split on the ends giving an unacceptable appearance. The second quality is a nice outer bark. Not only should the outer layer look like actual tree bark, but it should not fall off when it dries.

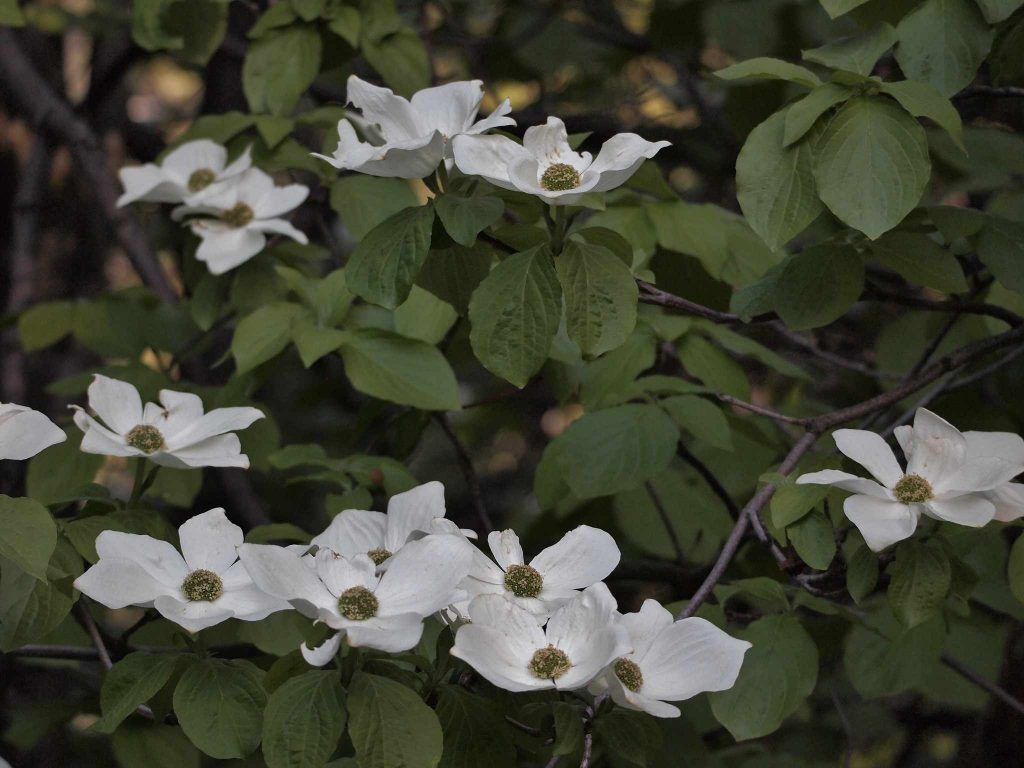
I have found three plants varieties that produce tight-grained non-fibrous twigs with an outer layer that resembles tree bark. The three varieties I recommend are:

  • Maple
  • Dogwood
  • Azalea
The twigs of the Azalea and the Dogwood (right) have an amazing looking bark that looks very natural and to scale.
The Dogwood tree produces twigs that can be split open to look exactly like split logs.

Once you’ve selected the wood, use a jig to cut it to length. Wider pieces can be split, just like real wood. Use carpenter’s glue to stack and secure your woodpile.

divider

Easy Window Mullions


window

Window mullions are so small, you would think them difficult to model. But using a technique credited to Tim Fairweather and Mike Chandwell, they can be modeled quite easily. You can watch Chandwell’s YoutTube video here.

Time and Difficulty

The goal of this project is to simplify the modeling of tiny window mullions. This project can be completed in a few hours, depending how many windows you decide to make. It requires moderate cutting skill with a straight edge and razor or scalpel.

What You’ll Need

  • Inexpensive label sheets
  • computer with drawing program (optional)
  • a printer (optional)
  • Clear acetate plastic (can come from a blister pack)
  • razor or scalpel
  • steel straight edge

Printing the Labels

Draw the windows full-scale with mullions about 3mm wide. Print the mullions in white or on a colored paper, and print the glass part in black or a contrasting color. Print them on full-size self-adhesive label paper. Inexpensive labels work better, premium labels tend to adhere too well.

Cut out one or two widows at a time from the label paper and press them on the clear plastic. Use a straight edge to guide your cuts, Cut along the outsides of each mullion using a straight edge to guide your blade. Cut fully from side to side, and top to bottom. don’t worry about the intersection of mullions, just cut through as if the crossing mullion weren’t there. Cut lightly using a sharp blade. Try to cut completely through the label paper without cutting through the clear plastic.

The Magic

Once all the mullions are cut out, use the knife point to lift the corner of the dark boxes, leaving the mullions firmly attached to the plastic. Trim the plastic to the window size and finish with a frame.