Without a doubt, most structures look much better with a lighted interior. Unless you use a battery, a lighted interior will require some kind of external wire connection to a source of power. You could connect your wires straight to the source, but what if you want to remove the building later to replace or repair it? It would be nice to have some kind of reusable connection between your structure and the power source. You could just leave your power wires dangling freely in the breeze, or put crimp connectors on them, but that’s not very tidy. Here is a clean, elegant and inexpensive solution to connect your hand-made structure to electrical power.
Time and Difficulty
The goal of this project is to make a simple and inexpensive yet durable power junction for connecting and disconnecting wire leads between lighted accessories and the power source. This project takes a few hours or less and requires minimum skill.
What You’ll Need
- thick styrene strips about 3/4″ wide
- drill and drill bit, same diameter as bolts
- (2) small stainless steel bolts
- (2) small stainless steel washers
- (4) small stainless steel nuts
- 18-gauge stranded hook-up wire
- 2 crimp rings and crimper (optional)
- wire strippers
- cyanoacrylate glue (super glue)
- soldering iron and solder
Construction
Cut the styrene into strips 1 ½” to 2″ long. Drill two holes centered vertically. Cut the hook-up wire into a manageable length do ONE of the following:
- Option 1: Strip 1/4″ of insulation from the end of the wire. Feed the wire into the crimp ring and crimp it down. Repeat to make two.
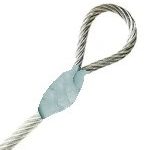
- Option 2: Strip 1″ of insulation from the end of the wire. Fashion the wire into a loop and solder it. Repeat to make two.
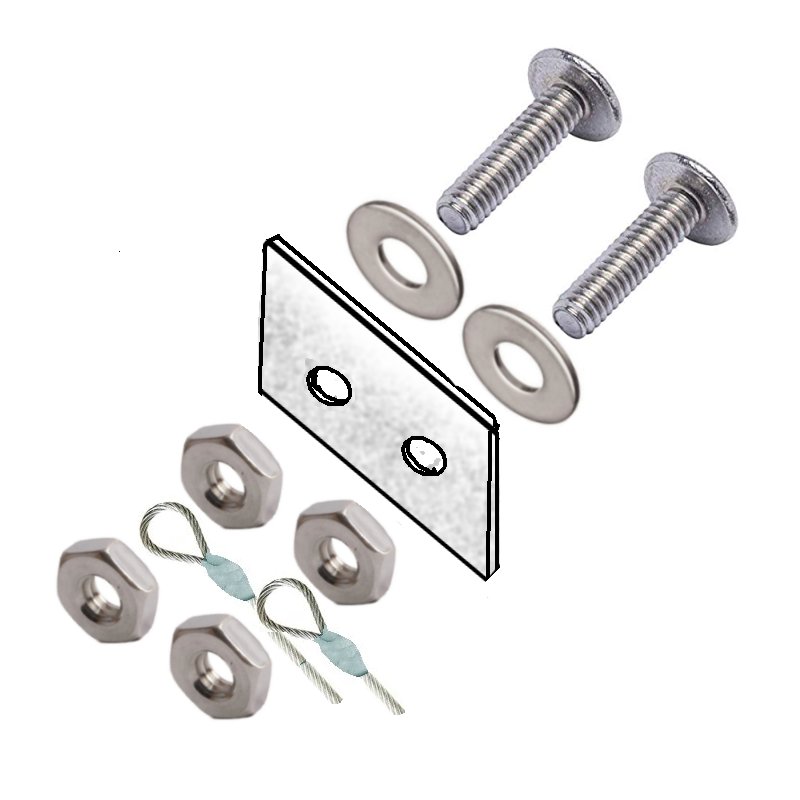
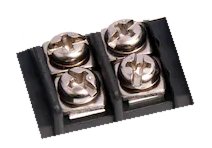
Install a washer on each bolt and push them through the holes in the styrene. Add a nut and tighten it down. Slip one crimp ring OR one wire loop over each bolt and add a second nut as shown in the diagram. (Note: You may want to add a lock-washer here) Glue the nuts in place with cyanoacrylate (Super Glue). When the glue dries, the nuts should hold fast, but the bolts should move freely inside the nuts. Loosen the bolts to allow for external wire connections and then tighten them back down. Do not over-tighten the bolts, or the nut will break free. Glue the junction assembly to the back of your project and connect the lead wires from the crimp ring or wire loop to the lights inside your project.
Don’t have the Time?
You think this is an awesome idea, but you don’t have the time or the desire to make your own? You can buy terminal strips from my favorite electrical parts store, All-Electronics.com. Strips come in different sizes, from one to 12 junctions per strip,